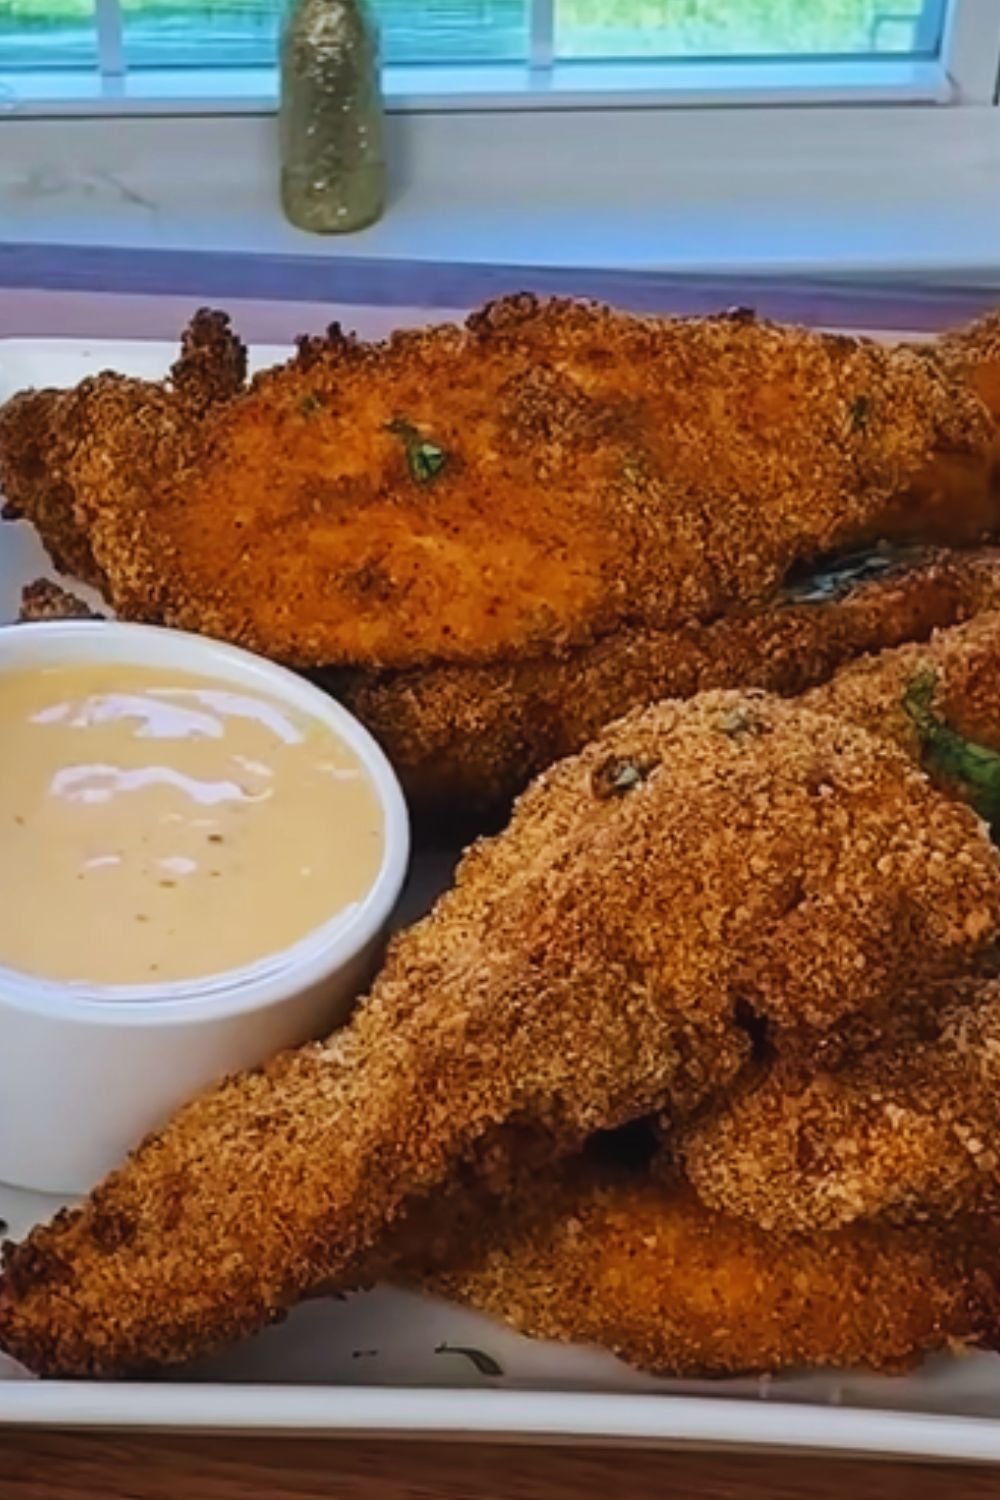
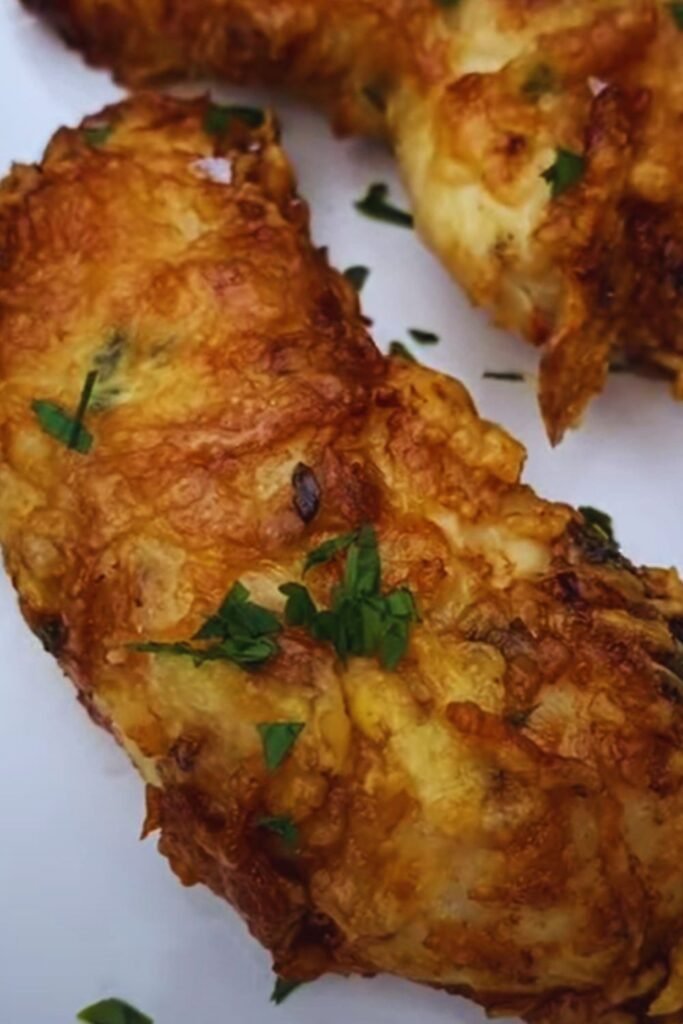
There’s nothing quite like biting into a perfectly crispy chicken tender – that satisfying crunch giving way to juicy, tender meat inside. After countless hours experimenting with my air fryer, I’ve finally perfected these golden-brown beauties that rival any restaurant version. The best part? They’re healthier since they’re air fried instead of deep-fried, but I promise you won’t miss the extra oil one bit.
Why You’ll Love This Recipe
If you’re looking for a foolproof way to make restaurant-quality chicken tenders at home, you’re in the right place. My air fryer method delivers that amazing crispy coating while keeping the chicken incredibly moist. Plus, these tenders are:
- Ready in just 25 minutes from start to finish
- Made with simple pantry ingredients
- Perfect for both kids and adults
- Healthier than deep-fried versions
- Freezer-friendly for meal prep
- Versatile – great as a main dish or in salads and wraps
Equipment Needed
- Air fryer (3.5 quart or larger)
- 3 shallow bowls for breading station
- Measuring cups and spoons
- Paper towels
- Cooking spray
- Meat thermometer (recommended)
- Tongs
Ingredients
For the Chicken:
- 2 pounds chicken tenderloins (about 10-12 pieces)
- 2 large eggs
- 1/4 cup milk
- 2 cups all-purpose flour
- 2 cups panko breadcrumbs
- 2 teaspoons paprika
- 2 teaspoons garlic powder
- 2 teaspoons onion powder
- 1 teaspoon dried oregano
- 1 teaspoon dried basil
- 1 teaspoon black pepper
- 2 teaspoons salt
- Cooking spray
Nutritional Information (per serving – 2 tenders)
| Nutrient | Amount |
|---|---|
| Calories | 310 |
| Protein | 28g |
| Carbohydrates | 32g |
| Fat | 8g |
| Fiber | 2g |
| Sodium | 580mg |
| Sugar | 1g |
| Iron | 2mg |
| Calcium | 45mg |
Step-by-Step Instructions
- Preparation (10 minutes):
- Pat chicken tenderloins dry with paper towels
- Set up breading station with three shallow bowls
- Bowl 1: Mix flour with half the seasonings
- Bowl 2: Whisk eggs with milk
- Bowl 3: Combine panko with remaining seasonings
- Preheat air fryer to 400°F (204°C)
- Breading Process (10 minutes):
- Dredge each tenderloin in seasoned flour
- Dip in egg mixture, letting excess drip off
- Coat thoroughly in seasoned panko
- Place breaded tenders on a plate
- Spray both sides lightly with cooking spray
- Air Frying (8-10 minutes):
- Place tenders in air fryer basket
- Don’t overcrowd – leave space between pieces
- Cook at 400°F for 5 minutes
- Flip tenders
- Cook additional 3-5 minutes until golden brown
- Internal temperature should reach 165°F (74°C)
Pro Tips for Perfect Results
I’ve learned these crucial tips through plenty of trial and error:
- Temperature Matters
- Let chicken reach room temperature before cooking
- This ensures even cooking and prevents soggy spots
- Proper Breading Technique
- Use one hand for wet ingredients
- Keep other hand for dry ingredients
- Prevents clumpy coating on fingers
- Don’t Skip the Spray
- Light coating of oil helps achieve golden color
- Ensures even browning
- Helps coating stick to chicken
Storage and Reheating
Storage Options:
- Refrigerator: 3-4 days in airtight container
- Freezer: Up to 3 months when properly wrapped
Reheating Methods:
- Air Fryer (Best Method)
- 375°F for 3-4 minutes
- Flip halfway through
- Oven
- 375°F for 8-10 minutes
- Place on wire rack
- Microwave (Last Resort)
- 30-second intervals
- Will lose crispiness
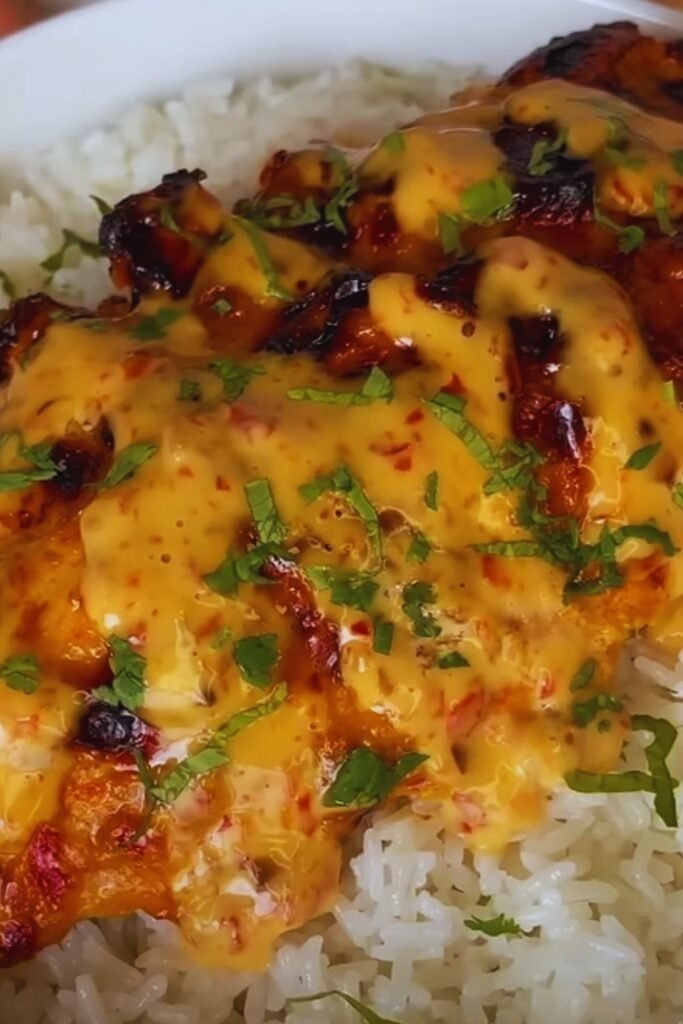
Serving Suggestions
These versatile tenders pair beautifully with:
- Homemade honey mustard sauce
- Ranch dressing
- BBQ sauce
- Fresh garden salad
- Sweet potato fries
- Coleslaw
- Roasted vegetables
- Grain bowls
Variations to Try
- Spicy Version
- Add 1 teaspoon cayenne to breading
- Include hot sauce in egg wash
- Italian Style
- Use Italian seasoned breadcrumbs
- Add grated Parmesan to coating
- Gluten-Free Option
- Substitute gluten-free flour
- Use gluten-free panko
- Check all seasonings for gluten
Common Questions
Q: Can I make these without an air fryer?
A: Yes! Bake in preheated oven at 425°F for 15-18 minutes, flipping halfway through.
Q: Why aren’t my tenders getting crispy?
A: Make sure to: 1) Pat chicken dry before breading, 2) Don’t skip the cooking spray, 3) Don’t overcrowd the air fryer.
Q: Can I use chicken breasts instead of tenderloins?
A: Yes, slice chicken breasts into 1-inch strips. Cooking time may need slight adjustment.
Q: How do I prevent the breading from falling off?
A: Press breading firmly onto chicken, let rest 5 minutes before cooking, and handle gently when flipping.
Q: Can I make these ahead for a party?
A: Yes! Cook fully, cool completely, then reheat in air fryer at 375°F for 3-4 minutes.
Troubleshooting Guide
| Problem | Possible Cause | Solution |
|---|---|---|
| Soggy coating | Overcrowded basket | Cook in smaller batches |
| Burning | Temperature too high | Reduce to 375°F |
| Uneven cooking | Tenders different sizes | Cut to uniform thickness |
| Breading falls off | Wet chicken | Pat dry thoroughly |
| Raw interior | Too thick | Pound to even thickness |
Remember, practice makes perfect! Don’t get discouraged if your first batch isn’t restaurant-perfect. With these detailed instructions and tips, you’ll be making amazing chicken tenders in no time. Experiment with different seasonings and dipping sauces to find your favorite combination.