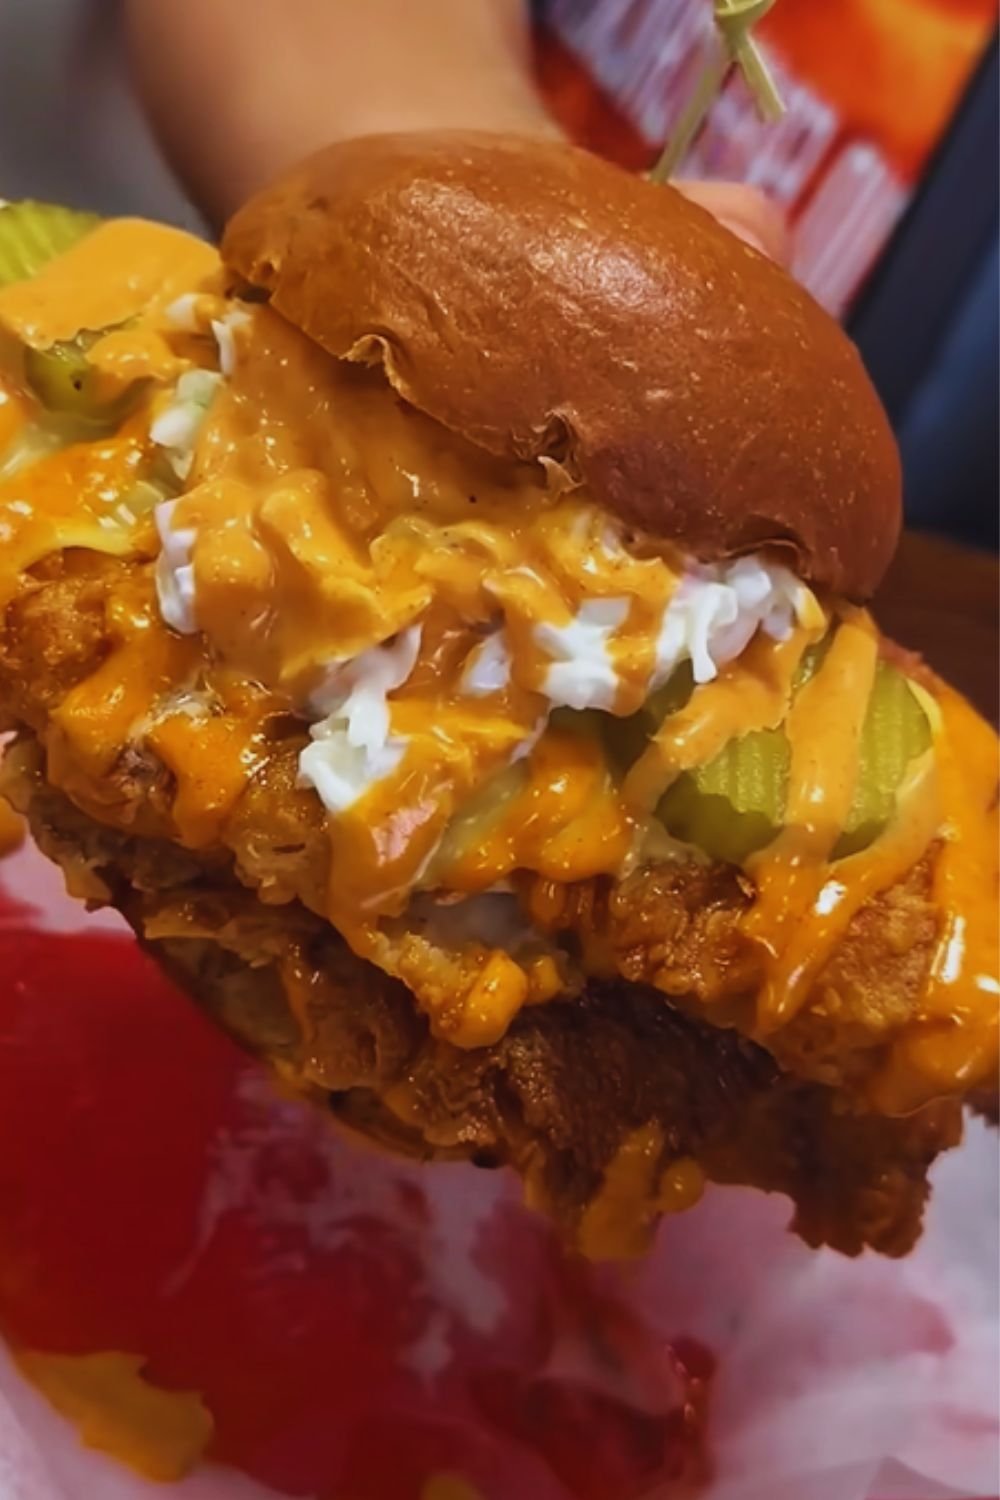
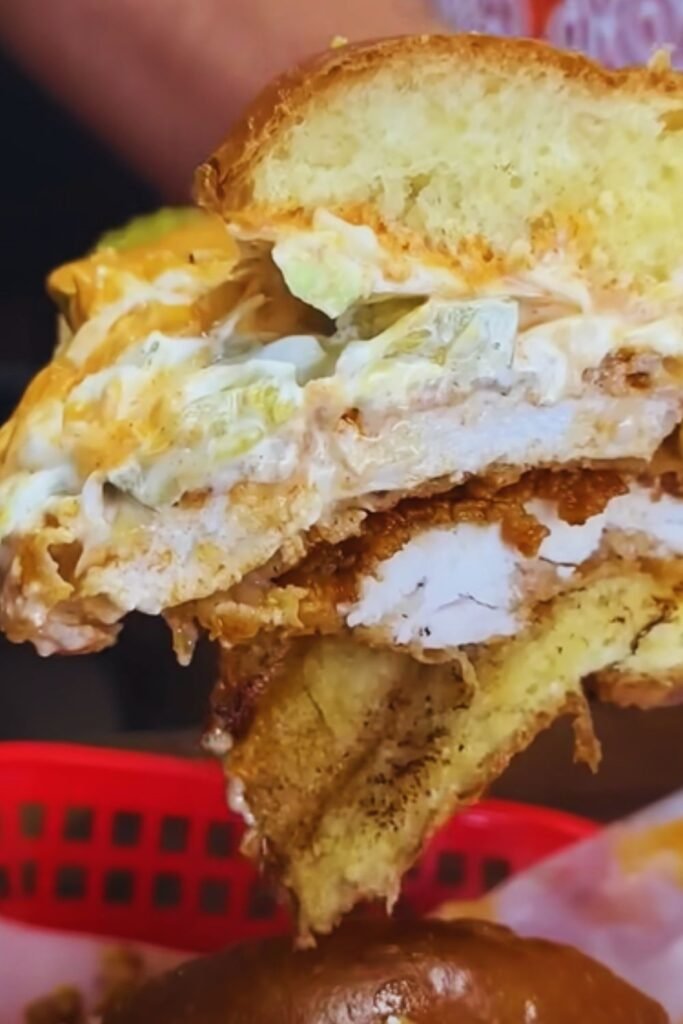
There’s something magical about biting into a perfectly crispy chicken sandwich. That satisfying crunch, followed by juicy meat and the perfect blend of toppings – it’s an experience that keeps you coming back for more. Today, I’m sharing my tested recipe for creating the ultimate crispy chicken sandwich that rivals any restaurant version.
Why This Recipe Works
After spending countless hours perfecting this recipe in my kitchen, I’ve discovered the secret combination of techniques that delivers restaurant-quality results. The chicken stays incredibly juicy while maintaining that coveted crispy exterior that we all love. What sets this recipe apart is the unique brining process and double-dredging technique that ensures perfect crispiness every time.
Key Equipment Needed
- Deep heavy-bottomed pot or deep fryer
- Digital thermometer
- Large mixing bowls
- Wire rack
- Baking sheet
- Kitchen tongs
- Paper towels
- Measuring cups and spoons
- Whisk
Ingredients
For the Brine
- 4 chicken breasts (6-8 oz each)
- 4 cups buttermilk
- 2 tablespoons kosher salt
- 2 teaspoons black pepper
- 2 teaspoons garlic powder
- 1 teaspoon paprika
- 1 teaspoon onion powder
For the Dredging Mixture
- 3 cups all-purpose flour
- 1 cup cornstarch
- 1 tablespoon kosher salt
- 2 teaspoons black pepper
- 2 teaspoons garlic powder
- 2 teaspoons paprika
- 1 teaspoon cayenne pepper
- 1 teaspoon onion powder
For the Spicy Mayo
- 1 cup mayonnaise
- 2 tablespoons hot sauce
- 1 teaspoon honey
- 1 teaspoon garlic powder
- ½ teaspoon smoked paprika
For Assembly
- 4 brioche buns
- Butter for toasting
- 2 cups shredded iceberg lettuce
- 4 thick tomato slices
- 16 dill pickle chips
- Vegetable oil for frying

Nutritional Information
| Nutrient | Amount per Serving |
|---|---|
| Calories | 850 |
| Protein | 45g |
| Carbohydrates | 65g |
| Fat | 48g |
| Fiber | 3g |
| Sugar | 8g |
| Sodium | 1250mg |
| Cholesterol | 125mg |
Step-by-Step Instructions
Brining Process (12-24 hours ahead)
- Butterfly each chicken breast horizontally to create two thinner pieces of equal size
- Using a meat mallet, gently pound each piece to an even ½-inch thickness
- In a large bowl, combine buttermilk, salt, and all brine seasonings
- Submerge chicken pieces in the brine
- Cover and refrigerate for 12-24 hours
Preparing the Dredging Station
- In a large bowl, whisk together flour, cornstarch, and all dredging seasonings
- Remove about 1/4 cup of this mixture and combine with 3 tablespoons of buttermilk from the brine to create small clumps
- Add these clumps back to the dry mixture and mix lightly (this creates extra crispy bits)

Frying Process
- Heat oil in a deep pot to 350°F (use enough oil to submerge chicken)
- Remove chicken from brine, allowing excess to drip off
- Dredge in flour mixture, pressing firmly to adhere
- Let rest on a wire rack for 5 minutes
- Dredge again for extra crispiness
- Fry for 5-6 minutes until golden brown and internal temperature reaches 165°F
- Drain on wire rack, not paper towels (keeps it crispier)
Making the Spicy Mayo
- In a bowl, combine all spicy mayo ingredients
- Whisk until smooth
- Refrigerate until ready to use
Assembly
- Butter and toast brioche buns until golden
- Spread spicy mayo on both bun halves
- Place lettuce on bottom bun
- Add crispy chicken
- Top with tomato and pickles
- Close sandwich and serve immediately
Pro Tips for Success
- Temperature Control: Maintain oil temperature between 340-350°F throughout frying
- Don’t Overcrowd: Fry maximum 2 pieces at a time
- Rest Time: Let chicken rest 5 minutes after first dredging for better coating adhesion
- Mayo Storage: Spicy mayo keeps for up to 1 week refrigerated
- Make Ahead: Prepare brine and dredging mixture up to 2 days in advance
Troubleshooting Common Issues
| Problem | Cause | Solution |
|---|---|---|
| Coating falls off | Wet chicken surface | Pat chicken drier before dredging |
| Not crispy enough | Oil temperature too low | Use thermometer to maintain 350°F |
| Uneven cooking | Chicken pieces different sizes | Pound to even thickness |
| Burnt exterior, raw interior | Oil too hot | Lower temperature to 340°F |
| Greasy result | Improper draining | Use wire rack instead of paper towels |
Storage and Reheating
- Storage: Keep leftover chicken in airtight container for up to 3 days
- Reheating: Place in 375°F oven for 10-15 minutes on wire rack
- Avoid microwave (makes coating soggy)
- Store components separately for best results
Serving Suggestions
- Fresh-cut sweet potato fries
- Homemade coleslaw
- Pickle spears
- Fresh garden salad
- Crispy onion rings
- Corn on the cob
Variations
- Nashville Hot: Add cayenne-based spice oil after frying
- Ranch Style: Switch spicy mayo for homemade ranch
- Buffalo: Toss in buffalo sauce before assembly
- Honey Mustard: Replace spicy mayo with honey mustard sauce
- Asian Fusion: Add Asian slaw and gochujang mayo
Frequently Asked Questions
Q: Can I use chicken thighs instead of breasts?
A: Yes! Thighs work great and stay even juicier. Adjust cooking time to about 7-8 minutes.
Q: Is it possible to bake this instead of frying?
A: While possible, baking won’t achieve the same crispy texture. If baking, spray with oil and cook at 425°F for 20-25 minutes.
Q: Can I make the brine or dredging mixture less spicy?
A: Absolutely! Adjust or omit the cayenne pepper to control heat level.
Q: How do I prevent the breading from falling off?
A: Ensure chicken is well-dried before dredging and let it rest after first coating. Don’t skip the double-dredge process.
Q: Can I prepare the chicken in advance for a party?
A: Yes! You can bread the chicken up to 4 hours ahead and keep refrigerated on a wire rack. Fry just before serving.
Health and Dietary Modifications
- Gluten-Free: Use gluten-free flour blend
- Lower Sodium: Reduce salt in brine and dredging
- Dairy-Free: Replace buttermilk with coconut milk + 1 tablespoon vinegar
- Air Fryer Version: Spray breaded chicken with oil, cook at 375°F for 12-15 minutes
- Lighter Version: Remove skin before brining
Remember, creating the perfect crispy chicken sandwich is part science and part art. Don’t be discouraged if your first attempt isn’t perfect – practice makes perfect, and each time you’ll get better at controlling temperature and timing. The key is patience during the brining and dredging process. Once you master this recipe, you’ll never need to buy a fast-food chicken sandwich again!