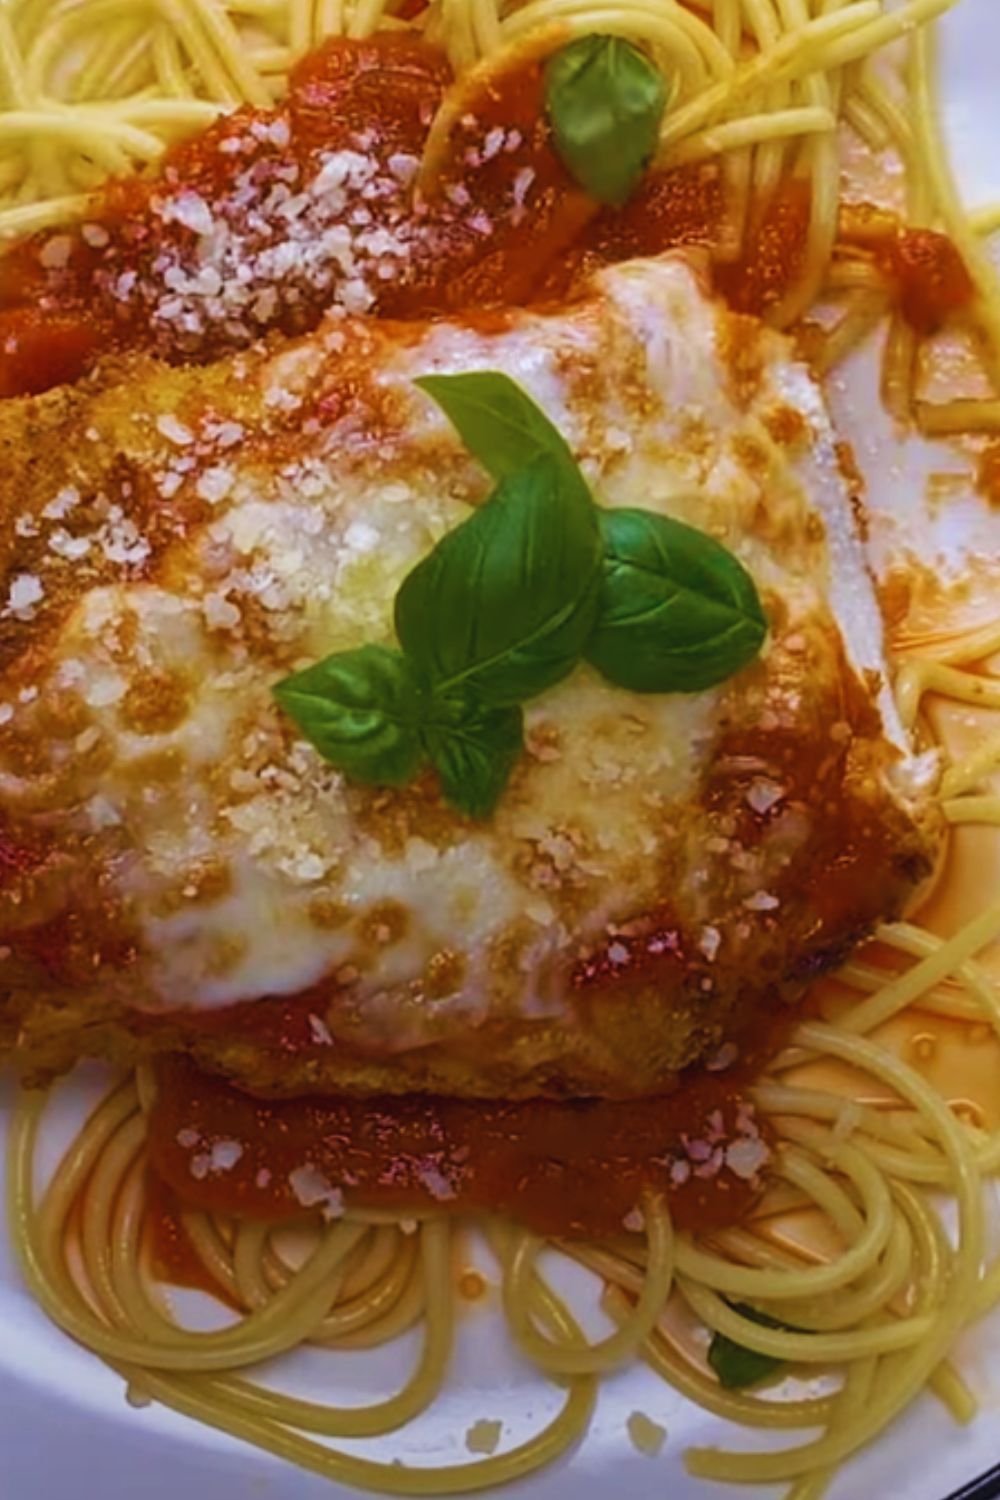
Have you ever craved that perfect combination of crispy, golden-brown coating and juicy, tender chicken that you get at high-end restaurants? I’m excited to share my foolproof recipe for Air Fryer Parmesan Crusted Chicken that brings that same restaurant quality right to your kitchen, but with a healthier twist and minimal cleanup.
Why You’ll Love This Recipe
After testing countless variations, I’ve perfected this recipe to deliver that satisfying crunch without the excess oil of traditional frying. The air fryer works its magic by circulating hot air around the chicken, creating an irresistibly crispy exterior while keeping the inside perfectly moist. Plus, the preparation takes just 15 minutes, making it perfect for busy weeknights when you want something special without the fuss.
Key Nutritional Information (per serving)
| Nutrient | Amount |
|---|---|
| Calories | 385 |
| Protein | 42g |
| Total Fat | 18g |
| Saturated Fat | 5g |
| Carbohydrates | 12g |
| Fiber | 1g |
| Sodium | 580mg |
| Calcium | 220mg |
Essential Ingredients
For the Chicken:
- 4 boneless, skinless chicken breasts (about 6-7 oz each)
- 2 large eggs
- 1 tablespoon Dijon mustard
- 1 teaspoon garlic powder
- 1 teaspoon Italian seasoning
- ½ teaspoon black pepper
- ¾ teaspoon sea salt
For the Coating:
- 1 cup finely grated Parmesan cheese (fresh, not pre-grated)
- ¾ cup seasoned breadcrumbs
- ½ cup panko breadcrumbs
- 1 teaspoon paprika
- 1 tablespoon dried parsley
- Olive oil spray
Equipment Needed
- Air fryer (5.8 quart or larger recommended)
- 3 shallow dishes for dredging
- Meat thermometer
- Paper towels
- Tongs
Step-by-Step Instructions

Preparation (15 minutes)
- Pat the chicken breasts dry with paper towels. If they’re particularly thick, place them between two pieces of plastic wrap and gently pound to an even thickness of about ¾ inch.
- Set up your dredging station with three shallow dishes:
- Dish 1: Whisk together eggs, Dijon mustard, garlic powder, Italian seasoning, pepper, and ½ teaspoon of the salt
- Dish 2: Combine Parmesan cheese, both types of breadcrumbs, paprika, and dried parsley
- Dish 3: Keep empty for the coated chicken
- Season chicken breasts with remaining ¼ teaspoon salt
Coating Process
- Dip each chicken breast into the egg mixture, ensuring complete coverage
- Press firmly into the Parmesan-breadcrumb mixture, turning to coat all sides evenly. The key here is to really press the coating onto the chicken – this helps it stick during cooking
- Place coated chicken on a clean plate and let rest for 5 minutes (this helps the coating adhere better)
Air Frying (15-18 minutes)
- Preheat your air fryer to 375°F (190°C) for 3 minutes
- Lightly spray the air fryer basket with olive oil spray
- Place coated chicken pieces in the basket, ensuring they don’t touch (cook in batches if necessary)
- Spray the top of each piece lightly with olive oil spray
- Cook for 7-8 minutes, then carefully flip each piece
- Spray the newly exposed side with olive oil spray
- Cook for an additional 7-8 minutes until golden brown and internal temperature reaches 165°F (74°C)
Pro Tips for Perfect Results
- Bring chicken to room temperature 20 minutes before cooking
- Don’t skip the resting period after coating
- Avoid overcrowding the air fryer basket
- Use a meat thermometer to ensure proper doneness
- Let rest for 5 minutes after cooking before cutting
Troubleshooting Common Issues
| Problem | Cause | Solution |
|---|---|---|
| Coating falls off | Too much moisture | Pat chicken very dry before coating |
| Not crispy enough | Insufficient oil spray | Ensure even oil spray coverage |
| Uneven cooking | Chicken pieces different sizes | Pound to even thickness |
| Burnt coating | Temperature too high | Reduce temp by 25°F |
Make-Ahead and Storage Tips
- Prep Time: You can bread the chicken up to 4 hours ahead and store in the refrigerator
- Storage: Keep leftovers in an airtight container for up to 3 days
- Reheating: Air fry at 350°F for 3-4 minutes to restore crispiness
Serving Suggestions

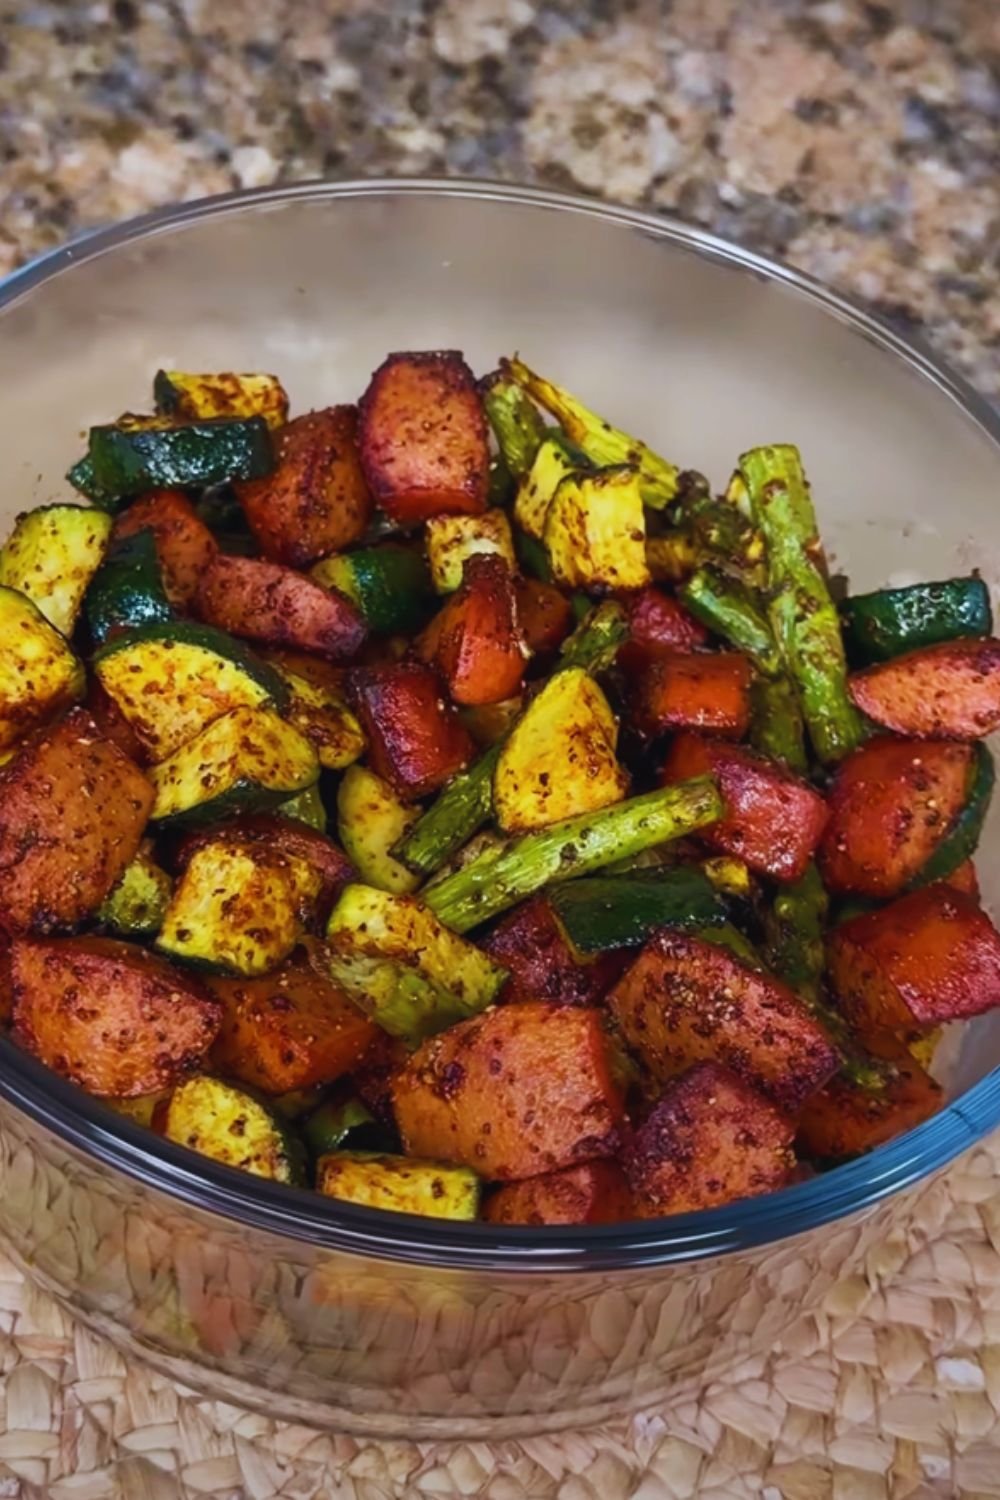
- Garlic roasted broccoli
- Lemon herb pasta
- Fresh arugula salad with balsamic dressing
- Roasted cherry tomatoes
- Garlic mashed potatoes
Recipe Variations
- Gluten-Free: Use gluten-free panko and breadcrumbs
- Spicy: Add ½ teaspoon cayenne to the coating
- Italian: Mix in 2 tablespoons of dried Italian herbs
- Low-Carb: Replace breadcrumbs with crushed pork rinds
Frequently Asked Questions
Q: Can I use chicken thighs instead of breasts?
A: Yes! Adjust cooking time to 20-22 minutes total, as thighs are typically thicker and have more fat.
Q: Why isn’t my coating as crispy as I’d like?
A: Make sure to spray with enough oil and avoid overcrowding the basket. Also, check that your air fryer is fully preheated before adding the chicken.
Q: Can I make this without an air fryer?
A: Yes, bake in a preheated oven at 400°F (200°C) for 22-25 minutes, flipping halfway through.
Q: How do I know when the chicken is done?
A: Use a meat thermometer to ensure the internal temperature reaches 165°F (74°C) at the thickest part.
Q: Can I freeze the breaded chicken before cooking?
A: Yes! Freeze on a baking sheet until solid, then transfer to a freezer bag. Cook from frozen, adding 5-7 minutes to the cooking time.
Health and Dietary Considerations
| Dietary Need | Modification |
|---|---|
| Low-Sodium | Reduce salt, use fresh herbs |
| Keto | Use crushed pork rinds instead of breadcrumbs |
| Gluten-Free | Use certified gluten-free breadcrumbs |
| Dairy-Free | Replace Parmesan with nutritional yeast |
I hope this recipe brings as much joy to your kitchen as it has to mine. Remember, the key to success is in the details – taking time to properly coat the chicken and monitoring the temperature will reward you with perfectly crispy, juicy results every time. If you try this recipe, I’d love to hear about your experience and any creative variations you discover!